In a time where everyone expects instant answers, Facebook Messenger allows you to engage with your customers and prospects in real time.
With the Facebook Messenger Chat Bot you can add access to Messenger right on your website.
This gives your customers and potential customers access to your business at any time.
Since I have added Messenger to my website I have had many conversations that started from my website.
These are highly targeted leads for my business.
Those conversations have directly led to large website and marketing projects for my business.
It is super simple to add a Facebook Messenger Chat Bot to your website.
In the video and steps below I show you exactly how to add the bot to your WordPress website.
12 Simple Steps to Add the Facebook Messenger Chat Plugin to Your Website
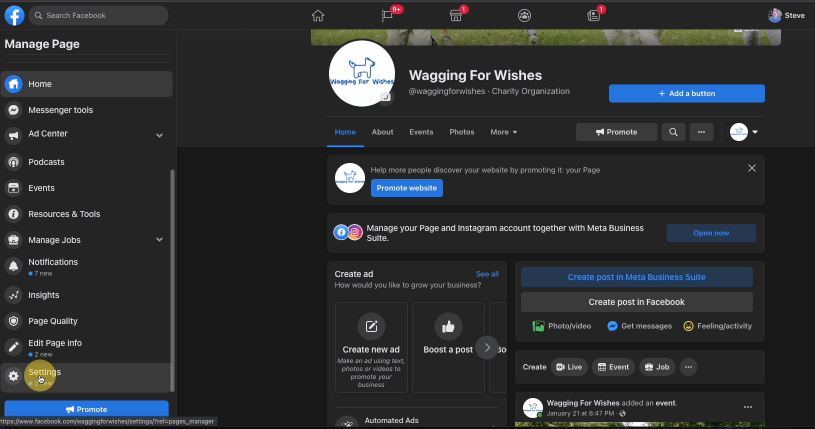
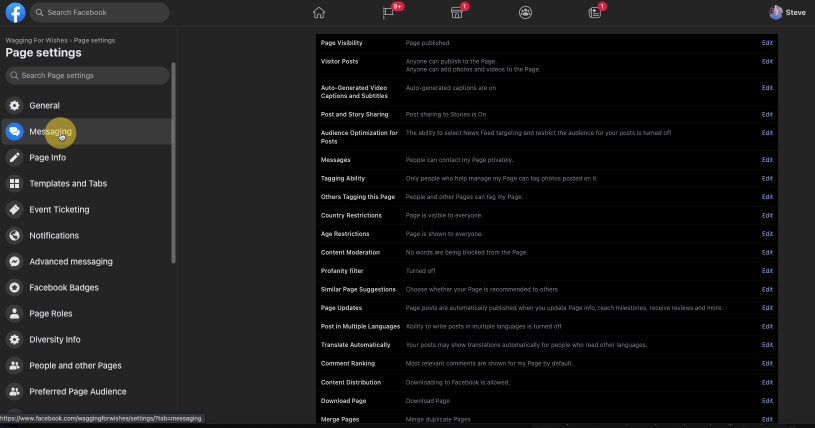
1. From your Facebook page go to Page Settings.
2. Click on Messages
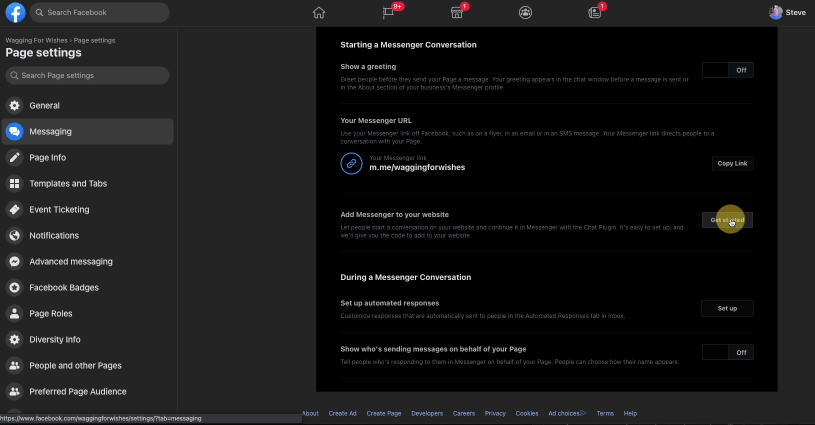
3. Go to Add Messenger to your website. Click Get started.
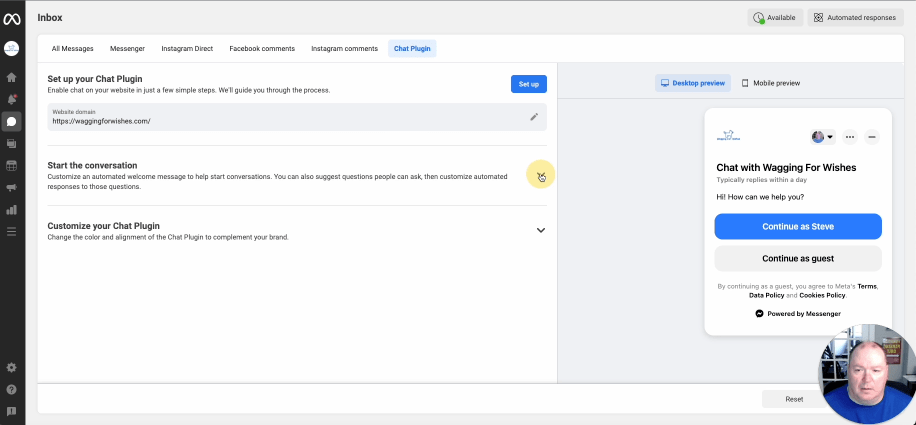
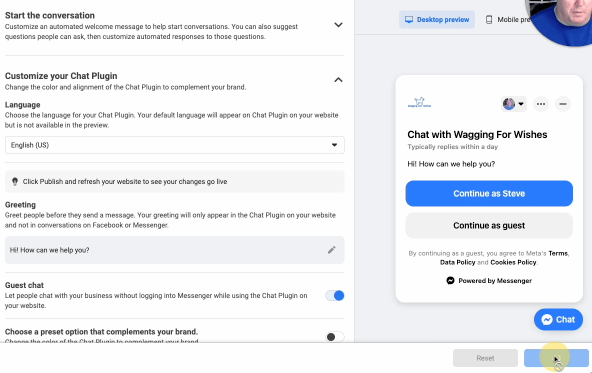
4. Edit details by clicking Start the Conversation and Customize your Chat Plugin.
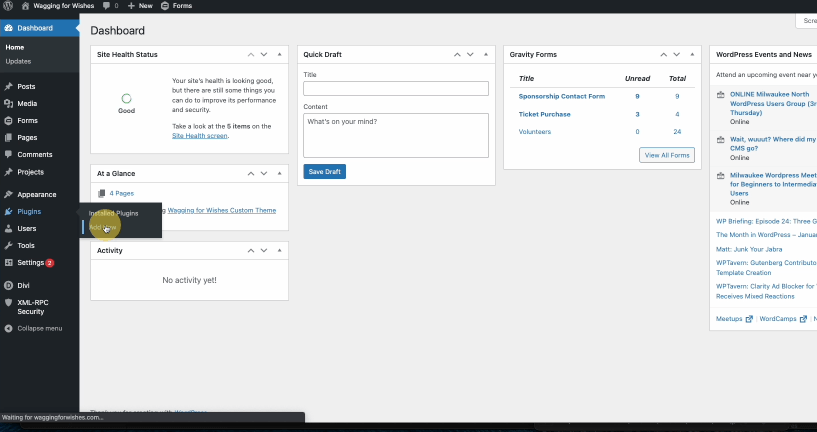
5. Log in to your WordPress website and go to your Plugins.
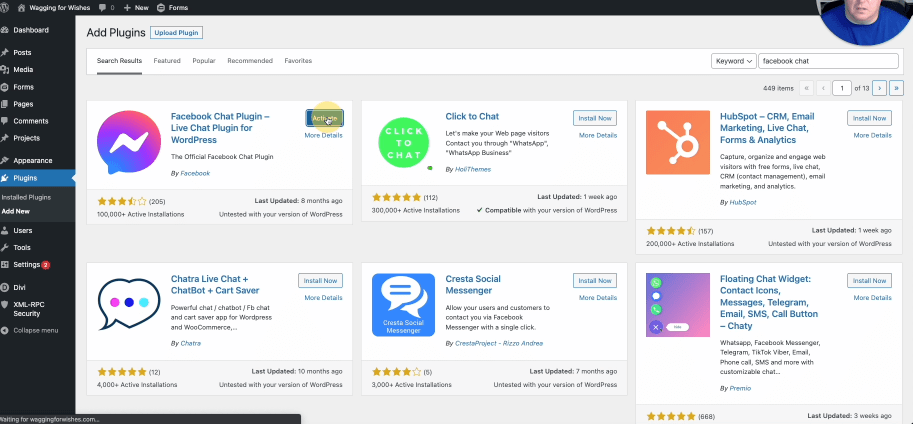
6. Search for Facebook Chat Plugin and click Install and then Activate.
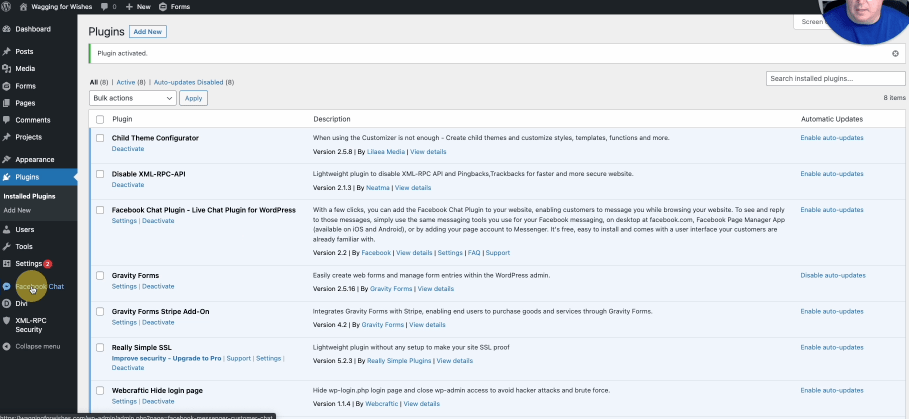
7. Click on Facebook Chat in your Dashboard menu.
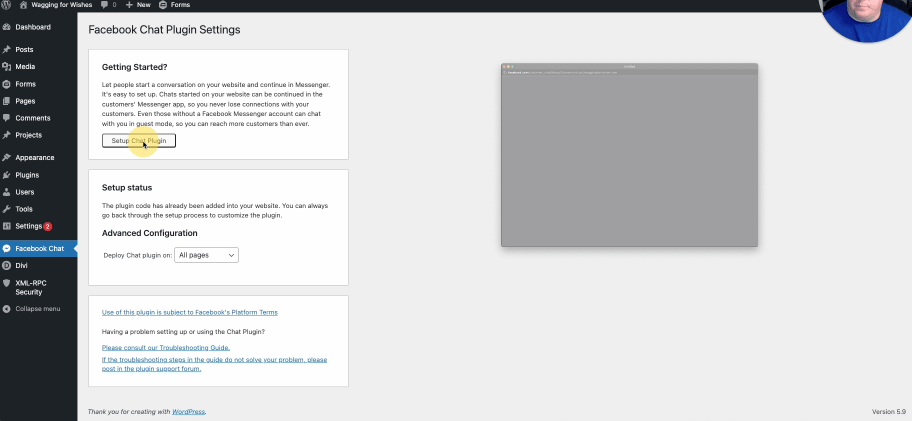
8. Click on Setup Chat Plugin
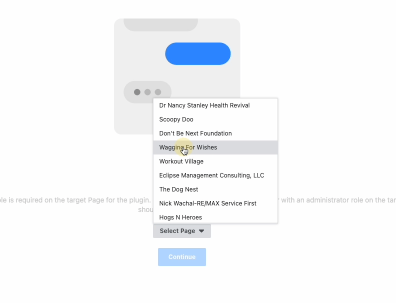
9. Choose the page you wish to be connected to your messenger bot.
10. Make any additional customization to your chat bot and click on Publish.
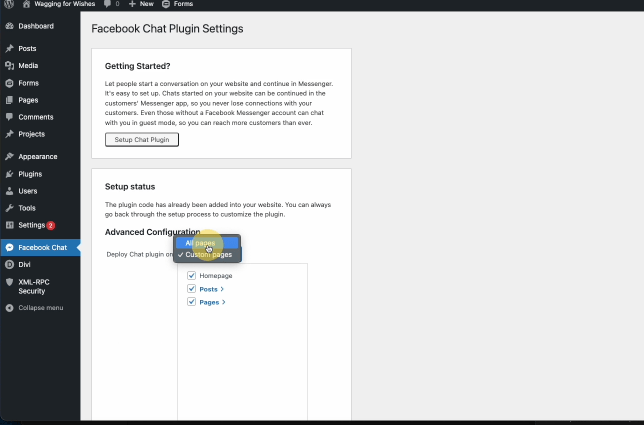
11. Choose on which pages your chat bot will be displayed.
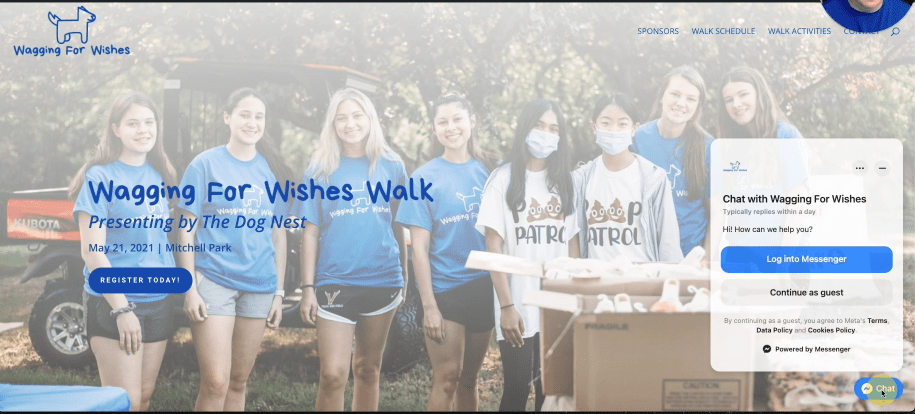
12. Check your Home page to make sure the Facebook Chat Bot is displaying correctly.
And there you have it.
If you are going to add the Facebook Messenger Chat Bot to your website, be sure to be responsive to your messages.
Not responding promptly could have a negative impact on your business.
If you found value with today’s post, please like and share with your network.
Send me a facebook message from this page to ask any questions you have regarding marketing or websites.
To Your Success,

Steve Stark
Email me at steve@starkwebdesign.com
Follow me on Twitter
Find me on Instagram


